Seed Finder

How to Use Nightreign Seed Finder

Warning:

This tool may spoil part of the experience for new players. Keep that in mind before introducing it to others or using it too early in your own playthrough.

1: Nightlord selection (optional)

On the home page, you can choose a Nightlord before selecting a map. This helps reduce the number of possible seeds and makes the search faster.

  • Open the Nightlord selector and pick your desired Nightlord.
  • Your selection is remembered and automatically applied when you start building your map.
  • After each search, the selection is cleared so the next search starts fresh.
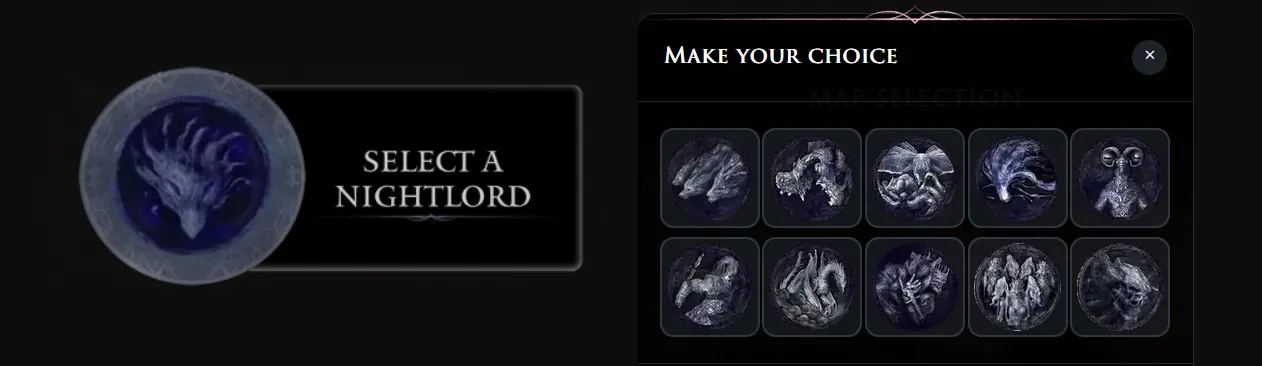
  • In Deep of Night the Nightlord can be hidden from you. On that run the field stays empty on purpose: mark the map the way you always would, and the result page names the Nightlord.
1: Nightlord selection (optional)

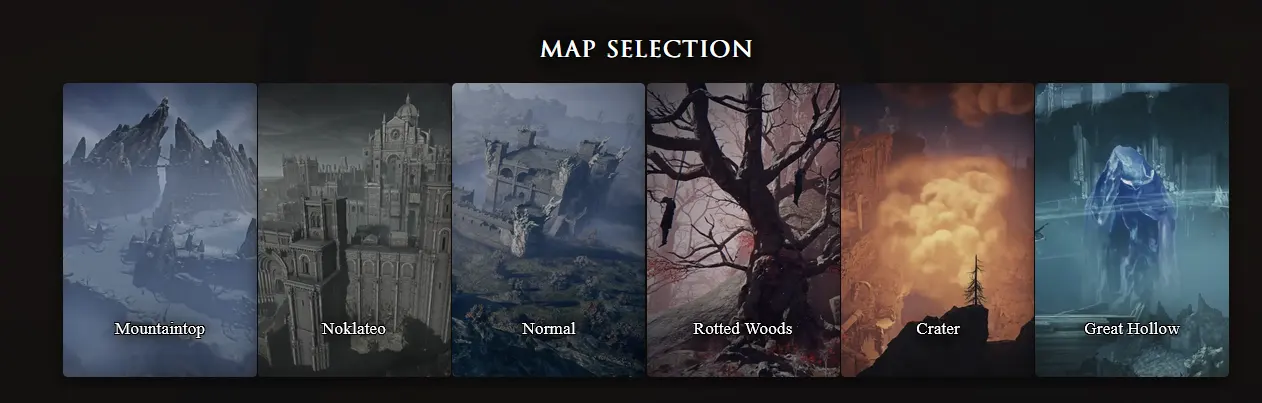
2: Map type selection

There are 6 types of maps in Elden Ring Nightreign, and they can contain exclusive events.
2: Map type selection

3: Map builder

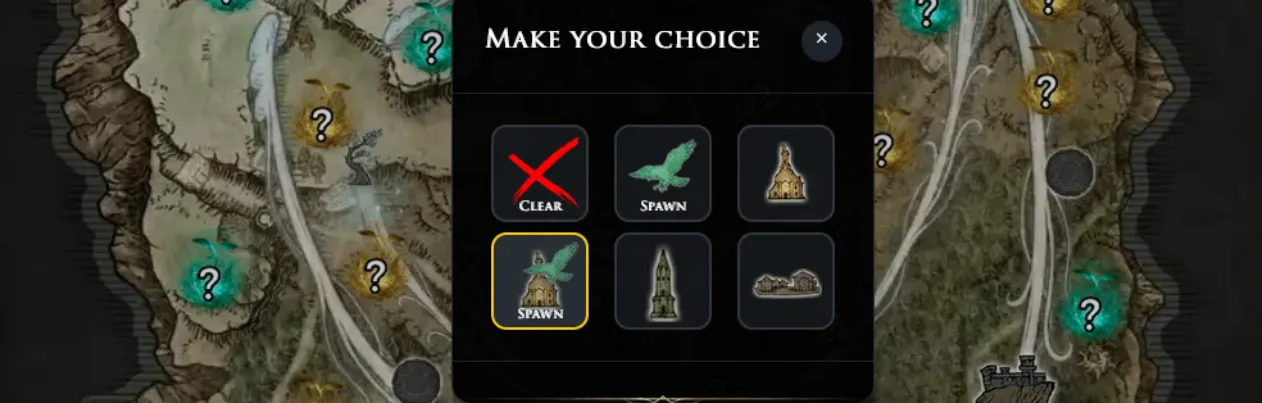
With the map type selected, you can draw your map layout on the Map Builder canvas. You do not need to complete it. Stop as soon as a single possible seed remains.

  • The pattern match usually takes one to four landmarks marked on the map.
  • It can be greatly sped up with the addition of the Nightlord and the Spawn point.
3: Map builder

4: The map result

Once you find a result you will see the map with the whole information such as:

  • All buildings, and enemies on it.
  • Nightlord status summary.
  • Event warnings.
  • Evergaol enemies identified.
  • Function to find Crystals (for the Great Hollow only).

5: The Nightlord status card

Every result carries a status card for the Nightlord that run ends against, showing what it is weak to, what it resists and what it is immune to. The same values are written out as text below the map, so you can plan a loadout without reading the card. The example below is Gladius: weak to Holy and piercing damage, resistant to Fire, immune to Madness.

Gladius status card. Weak to Holy and piercing damage. Resists Fire. Immune to Madness.

6: Special events

Half the records in the dataset carry a special event, 251 of the 520. When the seed you identified has one, the result map shows its card, with the name and the effect it grants. Reading the name tells you when to expect it.

  • Most event names end in Day 1 or Day 2. That suffix is the day the event happens on, so a Day 2 event is not something you can reach on the first day.
  • The events with no day in the name (Frenzy Tower, Mausoleum and Sorcerers Rise) work differently. They sit at a fixed spot on the map and can be visited on either day.
  • The effect is worth reading before you plan a route. Night Horde improves how fast the Ultimate Art gauge charges; Libra Curse raises attack power based on the runes you are holding; Gnoster Plague makes attacks occasionally return a large amount of runes.

7: Map Markers

The Markers button in the top-right corner of the result map lets you highlight the locations you care about. It is there on every seed except the Great Hollow ones. Every marker has its own Show toggle and colour. The Stonesword Key has two more, Caravans and POIs, which circle the caravan locations and the other locations separately. Your choices are saved in your browser for the next visit.

  • Stonesword Key was the first marker added. It circles the building locations where a key can appear, which is not the same as saying one is there. Opening an Evergaol is the only use a key has in the game, so the number of Evergaols on a map is the number of keys it takes to open them all.
  • Evergaol tiers, Township and Scale-Bearing Merchant came from community requests after launch. The 20k and 30k on the Evergaol markers are what the gaol pays out, and the 30k one is the Old Gaol: its boss comes from outside the normal Evergaol pool and is harder, and from outside the gaol looks like every other one.
  • Nightlord Weakness is a dynamic marker, described below.
The Map Markers modal, showing the Nightlord Weakness row with its Show checkbox and colour picker.

8: The Nightlord Weakness marker

This marker does not highlight a fixed location. It reads the Nightlord of the seed you are in, works out which damage type that Nightlord is weak to, and highlights the points of interest that provide it. Turn it on once and it keeps pointing at the right thing on every seed.

  • On a Caligo seed it highlights Fire locations, because Fire is what Caligo is weak to.
  • On a seed whose Nightlord is weak to Poison, the same marker highlights Poison locations instead. You do not change any setting.
  • This saves two steps: remembering each Nightlord weakness, and scanning the map for the matching elemental location.
Seed 262 with the Nightlord Weakness marker on. A blue circle highlights the Fire location, because the Nightlord of this seed is Caligo.

9: Crystal Finder (Great Hollow only)

Breaking four crystals splits the giant crystal at the centre of the Great Hollow, which is what grants the area power. The Crystal Finder narrows down where those crystals are as you go, the same way the map builder narrows down seeds.

  • Every crystal you find should be clicked on the map to mark it as broken.
  • Each one you mark reduces where the remaining crystals can be, so the fourth is much faster to find than the first.
  • Icons distinguish guaranteed crystals, possible ones, underground ones, and the ones you have already broken. The Crystal Finder Help button inside the finder explains each icon.

10: Error report

If any information or behavior appears to be wrong on the site, you can inform it at the bottom of the page, using the Report button. Feel free to use this feature to also message me or give any feedback.

Nightreign Seed Finder is a fan-made tool and is not affiliated with, endorsed by, or connected to FromSoftware or Bandai Namco.
Elden Ring and Nightreign are trademarks of their respective owners.